

Original stand, including broken piece
I have a 7″ touch screen monitor for Raspberry Pi’s. I wasn’t happy with the stand that it originally came with, which was rather flimsy, and the stand broke twice. But I got a 3d printer from my wife for Christmas, and I decided I could build a better stand for it. To design the stand, I used TinkerCad, which while less sophisticated than many other tools, has one of the easiest learning curves.
I started with just a large block in TinkerCad, sized to the dimensions I needed, than cut out sections one by one to form the sloping back, the slot that the monitor slides into to hold it, and a section cut out of the stand so that it would use less plastic.
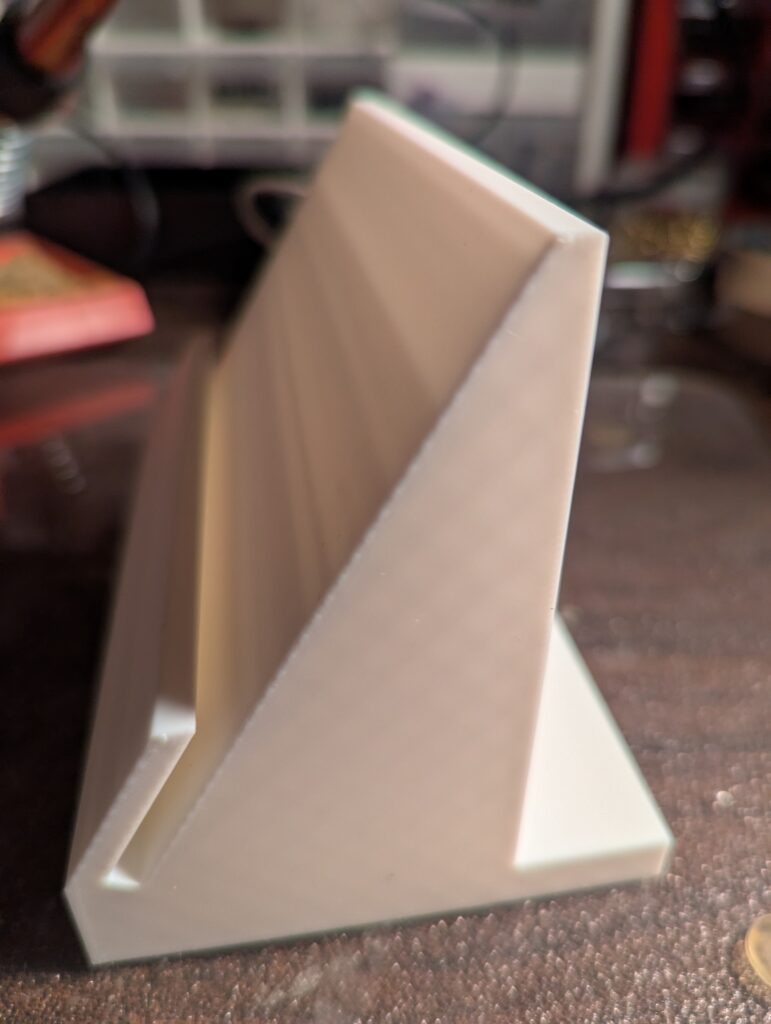
Side view of the printed stand, showing the slot the monitor slides into.
After I started printing, I realized I could make it even more efficient by making the main section of the stand hollow. To do that, I made a copy of the stand in TinkerCad, cut off the front, then shrank the copy. Then I changed the copy from a solid object to a hole, positioned it inside the original, and joined the hole to the stand.
I’m really happy about how it came out, and as you can see in the pictures, the monitor fits perfectly!
I’ve published the model files on Thingiverse.
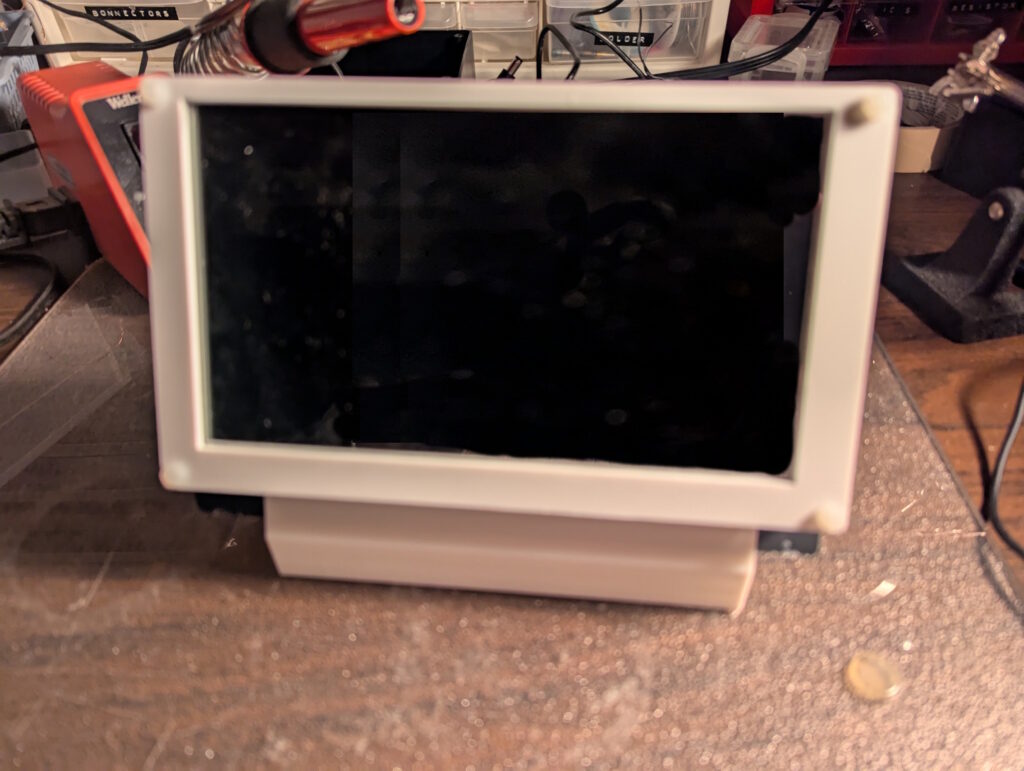
The finished stand, with the monitor in place.